
A pot of onion skins simmering on the hob, a bundle of marigolds tied into an old linen shirt, a jam jar of nettles left on a sunny windowsill for a fortnight: natural dyeing rewards curiosity far more than expensive equipment. If you grow flowers, herbs or vegetables, you already own most of the raw materials. The rest is patience, a notebook, and a willingness to be surprised by what comes out of the pot.
Before you start: a small kit and a few safety rules
You don't need a studio. A corner of the kitchen and a shelf for jars will do, provided you keep dyeing kit completely separate from anything you cook with.
- A stainless steel or enamel pan, used only for dyeing. Aluminium reacts with dyes and dulls colours, and copper or iron pans will shift your results whether you want them to or not.
- A wooden spoon or long-handled tongs, also kept for dyeing alone.
- A sieve, plus a square of muslin or an old pair of tights for straining plant material.
- Jam jars for solar dyeing and for storing leftover dye liquor.
- Rubber gloves and an apron. Some plants stain skin and worktops, and mordant solutions deserve respect.
- A pH-neutral soap for washing finished pieces.
- A notebook. Dyeing is full of variables, and written records are the only way to repeat a colour you love.
Some dye plants — rhubarb leaves, foxgloves, tansy in quantity — are not edible, and mordant solutions should never end up near food. Label your jars, open a window when simmering, and keep everything out of reach of small children and pets. If you are pregnant or breastfeeding, or unsure about handling a particular plant or metal salt, it is worth checking with a qualified herbalist or your GP before you begin.
Understanding mordants, and why fibre type matters
A dye on its own will mostly rinse away. A mordant is a metal salt that binds the dye to the fibre, and it is the difference between a colour that lasts a season and one that lasts years.
Protein fibres — wool, silk, alpaca — take dye readily and are the friendliest place to start. Cellulose fibres such as cotton, linen and hemp need more persuasion: treat them with tannin first (strong tea, oak galls or oak bark will do it), then mordant them.
Alum, or potassium aluminium sulphate, is the safest and most useful mordant for home dyeing, giving clear, bright colours. As a rough guide, many dyers use around a tenth of the fibre's dry weight in alum, dissolved in hot water, with the wetted fibre held at roughly 80–90°C for an hour. Never boil wool: heat plus agitation plus sudden temperature changes will felt it. Let the pan cool with the fibre still in it, then rinse.
Iron is the other one worth having. A jar of rusty nails steeped in vinegar and water for a week or two gives you an iron solution that "saddens" colours — yellows turn olive, pinks turn grey. Use it sparingly, as too much makes wool brittle. Copper and tin are traditional but more toxic; best left alone at home.
The best garden plants for colour
- Onion skins — warm golds, oranges and coppers, and admirably light-fast. Keep a paper bag in the kitchen and add to it all year.
- Marigolds (calendula and French) — clear yellows and oranges from the petals alone. A good handful goes a long way.
- Dahlias — deep reds, bronzes and oranges from dark-petalled varieties. The darker the flower, the richer the result.
- Coreopsis and cosmos — soft yellows and oranges, particularly good on wool.
- Nettle — a greenish yellow on its own, and a strong olive-green with an iron afterbath. Free from any hedgerow or neglected corner.
- Comfrey and yarrow — muted yellows and greens, with yarrow shifting noticeably depending on the mordant used.
- Blackberries, elderberries and sloes — purples, blues and greys, though these fruit dyes fade in strong sunlight.
- Beetroot — a vivid pink straight from the pot, but fugitive. Treat it as a short-lived pleasure rather than an heirloom.
The classic dye plants are worth growing if you have the space. Weld gives a bright, reliable yellow; madder gives true reds from its roots after a few growing seasons; woad gives blue, though it needs a fermentation vat and is a project in itself.
Two ways to get the colour out
Simmering
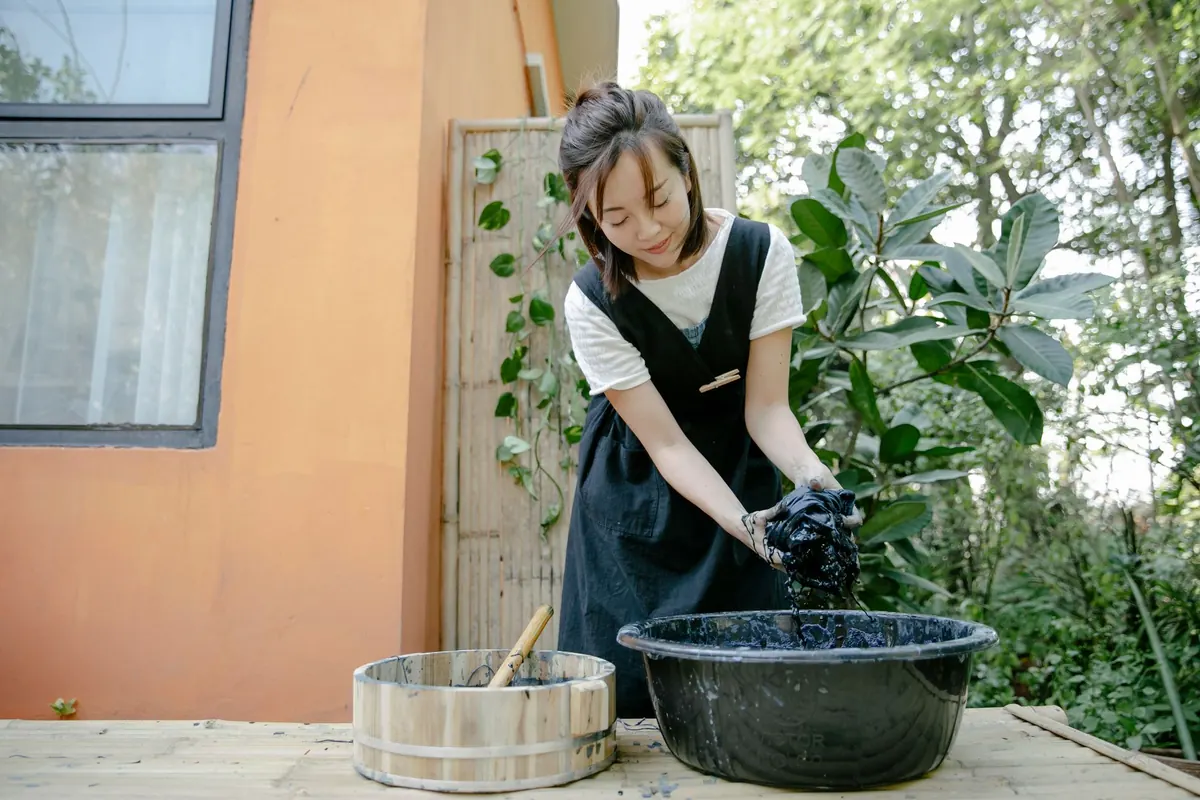
Chop or tear your plant material roughly, cover it with water, and bring it to a gentle simmer for thirty to sixty minutes. Strain the liquor back into the pan. Aim for roughly the same weight of plant material as dry fibre, and more if you are using pale flowers. Add your wetted, mordanted fibre and hold it at a low simmer for another thirty to sixty minutes, then turn off the heat and leave it overnight. Wool prefers a gentler, shorter bath; plant fibres can take more.
Solar dyeing
Put plant material, fibre and water into a clean jar, screw the lid on, and stand it in a sunny spot for two to six weeks, shaking it every few days. It is slow, almost odourless and lovely to do with children. The colours tend to be softer than those from a hot bath, which is often exactly the point.
Shifting a colour after the pot
Modifiers let you push one dye bath in several directions. An iron afterbath of a few splashes turns yellows olive and pinks grey. A pinch of washing soda deepens pinks and purples, while a glug of vinegar sharpens yellows and reds. Test on a small sample first: the change happens fast and does not reverse. Keep your modifier jars labelled and well away from the kitchen.
Washing, drying and storing
Rinse dyed fibre in cool water until the water runs clear, which can take longer than you expect, then wash it gently with pH-neutral soap and dry it in the shade. Expect depth rather than brilliance — natural dyes have a softness that synthetic ones rarely match. Store finished pieces out of direct sunlight, and for paper, dip sheets, blot them, and press them between boards. The same bath can be painted on with a brush for a watercolour effect.
Start small and keep a record
Pick one plant and one small skein, or a few sheets of paper, and write down everything: the plant, how much you used, the fibre weight, the mordant, the timings, the result. The same nettles picked in June and September will not give you the same colour, and that is half the pleasure. A pale first attempt is not a failure — you can always overdye it. Hang the result on the line, look at it in daylight, and put another pot on.
Photo: Teona Swift / Pexels