
There is real satisfaction in turning a pile of junk mail into something that flowers. Seed paper — handmade paper with wildflower seeds pressed into it — works as a card, a gift tag or a bookmark, and when the recipient has finished with it, it goes into a pot of compost rather than the recycling bin. A few hours at the kitchen table is enough to make a batch. The process is part papermaking, part baking, and forgiving enough that a first attempt usually turns out well. Even a lumpy, uneven sheet that would never sell in a shop will germinate perfectly happily on a windowsill, which takes most of the pressure off.
What You'll Need
Most of this is already in the house. Anything missing, a garden centre or craft shop will stock.
- Scrap paper: roughly 20 sheets of A4, or the equivalent in envelopes, brown paper, paper bags and egg boxes
- Warm water and a large bowl or washing-up tub
- A blender you don't mind dedicating to craft use
- A mould and deckle, or a fine-mesh sieve — two cheap picture frames stapled either side of some insect mesh make a good DIY version
- Absorbent cloths: J-cloths, old tea towels or felt squares, plus a bath towel
- A sponge and a rolling pin
- Wildflower seeds — a small handful is plenty
- A waterproof tray or roasting tin to catch drips
- Optional: dried petals, coloured scrap paper for flecks, a few drops of natural dye
Choosing the Paper
Avoid anything shiny or coated: glossy magazines, laminated wrappers and till receipts all contain things you would rather not dig into your compost. Thermal till receipts in particular are coated in chemicals you don't want in a vegetable bed. Envelopes, printer paper, brown parcel paper, newspaper, egg boxes and paper bags break down beautifully. Newspaper gives a soft grey sheet, so mix it with lighter paper if you want a paler finish.
Take out staples, plastic windows, sticky tape and address labels before you start. Ink darkens the pulp slightly, but it does not stop the fibres binding, and ordinary print is fine in a craft batch like this. If you want a warmer tone, add a few sheets of kraft paper or a couple of tea bags to the soak — just dry the tea first.
Choosing Your Seeds
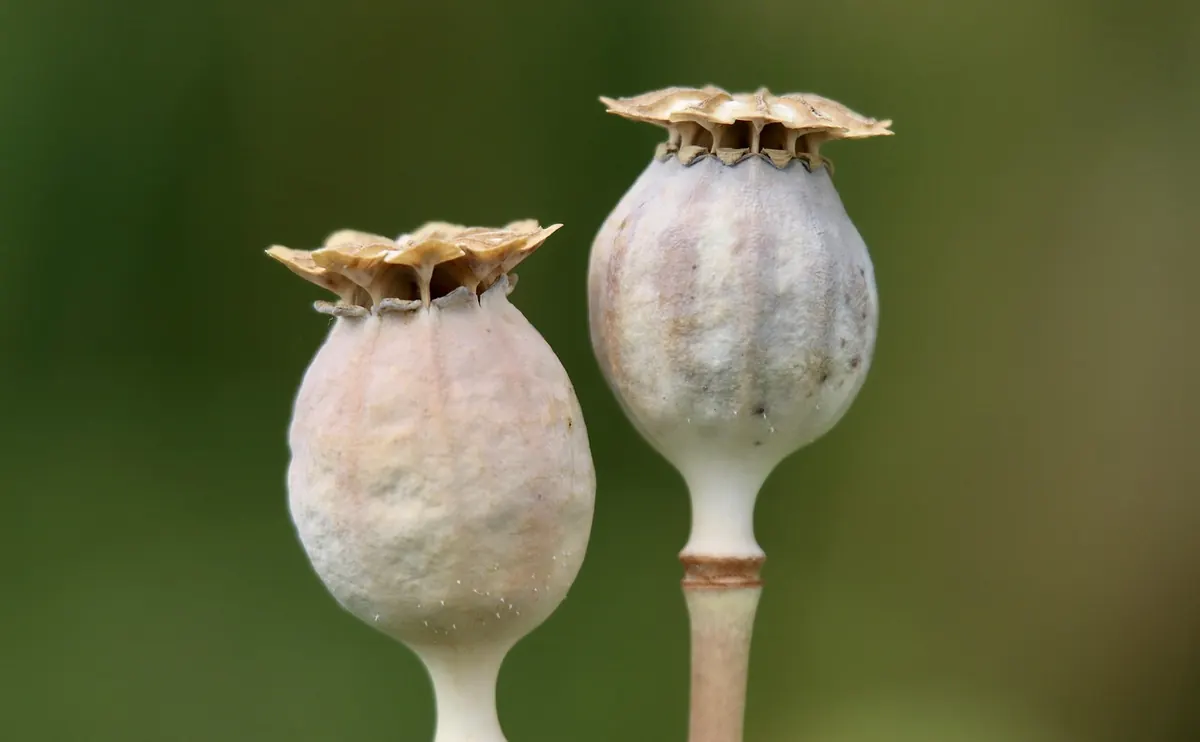
Small, quick-germinating seeds work best: poppies, cornflowers, nigella, marigolds, forget-me-nots, foxgloves and chamomile all sit happily in a thin sheet. Leave out large seeds such as sunflowers or nasturtiums — they are too big to press in and will simply drop out as the paper dries.
A general wildflower mix is the simplest option, and native mixes are the better choice if the paper is going into a garden border, since they support local insects. Annuals like cornflower and poppy flower in their first year, which makes them satisfying for impatient recipients; perennials such as foxglove and yarrow take longer but come back. Use fresh seed, keep it dry until you need it, and check the packet for sowing times. Bear in mind that seeds lose viability if they get hot, so keep the finished paper away from radiators and sunny windowsills.
Making the Pulp
- Tear the paper into pieces roughly the size of a postage stamp. Smaller pieces soak faster.
- Cover with warm water and leave for at least two hours, ideally overnight, until the paper is soft and collapsing.
- Blend in small batches — a handful of soaked paper to about two cups of water — in short pulses for 30 to 60 seconds. Stop when it looks like porridge. Over-blending shortens the fibres and gives you weak, crumbly paper.
- Tip the pulp into a large tub and top up with water until it resembles thin soup. Stir in dried petals or a pinch of coloured pulp if you want flecks.
- Keep the tub stirred as you work. Pulp settles fast, and a sheet pulled from a settled tub comes out patchy and thin at the edges.
Pulling a Sheet
Stir the tub so the pulp is evenly suspended, then slide the mould in at an angle. Level it, lift it straight up and let the water drain through. Shake it gently — side to side, then front to back — so the fibres lock together.
No mould and deckle? Ladle pulp onto a fine sieve set over a bowl and spread it thinly with your fingers. It will look rustic, but it works.
To move the sheet, lay a damp J-cloth over the top, flip the mould and cloth over together, and press firmly with a sponge to squeeze out the water. Lift the mould away and the sheet stays on the cloth.
Adding the Seeds
Seeds never go in the blender — the blades shred them. There are two ways to get them into the paper, and both give good results.
Stirring Seeds Into the Pulp
Once your tub is filled and stirred, sprinkle in a small handful of seeds and swirl it through. This distributes the seeds evenly through the whole batch, so every card you make carries its own little meadow. Use more water than usual and stir gently, so the seeds don't sink and clump at the bottom.
Sprinkling Seeds Onto the Sheet
The more controlled method is to leave the pulp plain and scatter seeds over the freshly pulled, still-wet sheet while it sits on the cloth. Aim for a light dusting rather than a thick layer — roughly one seed every centimetre. This way you can see exactly where the seeds land, and you waste fewer of them. A pinch of seeds between finger and thumb, tapped out over the surface, gives the most even spread.
Either way, press the seeds in lightly with the flat of your hand. They should be nestled in the fibres, not sitting on top where they will fall off once the paper is dry.
Pressing and Drying
Stack your sheets between absorbent cloths on top of a bath towel, add a second towel and a chopping board, and press down with your weight or roll over the pile with a rolling pin. Change the cloths after an hour or so — they will be soaked — then leave the sheets flat to dry somewhere airy.
Drying takes a day or two depending on the weather. You can speed it up with a hairdryer on a cool setting, but never use an oven or iron, and never dry sheets in direct sun: heat kills the seeds before they have even been planted. When the paper is dry it should feel like thick, slightly stiff card. Peel it gently from the cloth, and trim the edges with scissors if you want a neater finish.
If Something Goes Wrong
- The paper crumbles: the pulp was over-blended or the sheets are too thin. Blend for less time next batch and ladle on more pulp.
- The sheets stick to the cloth: they weren't pressed dry enough. Sponge harder and change the cloths sooner.
- Seeds are falling out: they were scattered too thickly on top. Press them in more firmly, or stir them through the pulp instead.
- The paper smells musty: it wasn't dried quickly enough. Next time, press it more thoroughly and dry it in a warm, airy room rather than a damp cupboard.
- Nothing germinates: the seeds were old, or the paper got too hot while drying. Try again with fresh seed and a gentler drying method.
Using and Planting Your Seed Paper
Seed paper is happiest as something small and useful: a gift tag tied to a jar of jam, a bookmark slipped into a second-hand book, a place card at a dinner table, or a handwritten note on a birthday card. Write on it with a ballpoint pen or a soft pencil, and keep the message light. Fountain pens and markers bleed into the fibres, and heavy ink can smother the seeds beneath it.
Include a planting note with anything you give away, or write it on the back of the card itself.
Plant me: soak this paper in water, tear it into pieces and press them into a pot of compost or a patch of bare soil. Cover lightly, keep damp, and leave somewhere warm and light. Flowers should appear within a few weeks.
In the ground, the paper breaks down within days and holds moisture around the seeds while they get going, which gives them a useful head start. That is the whole appeal of the project: a sheet of paper that does a job, then quietly disappears and leaves something better in its place.
Photo: Nennieinszweidrei / Pixabay